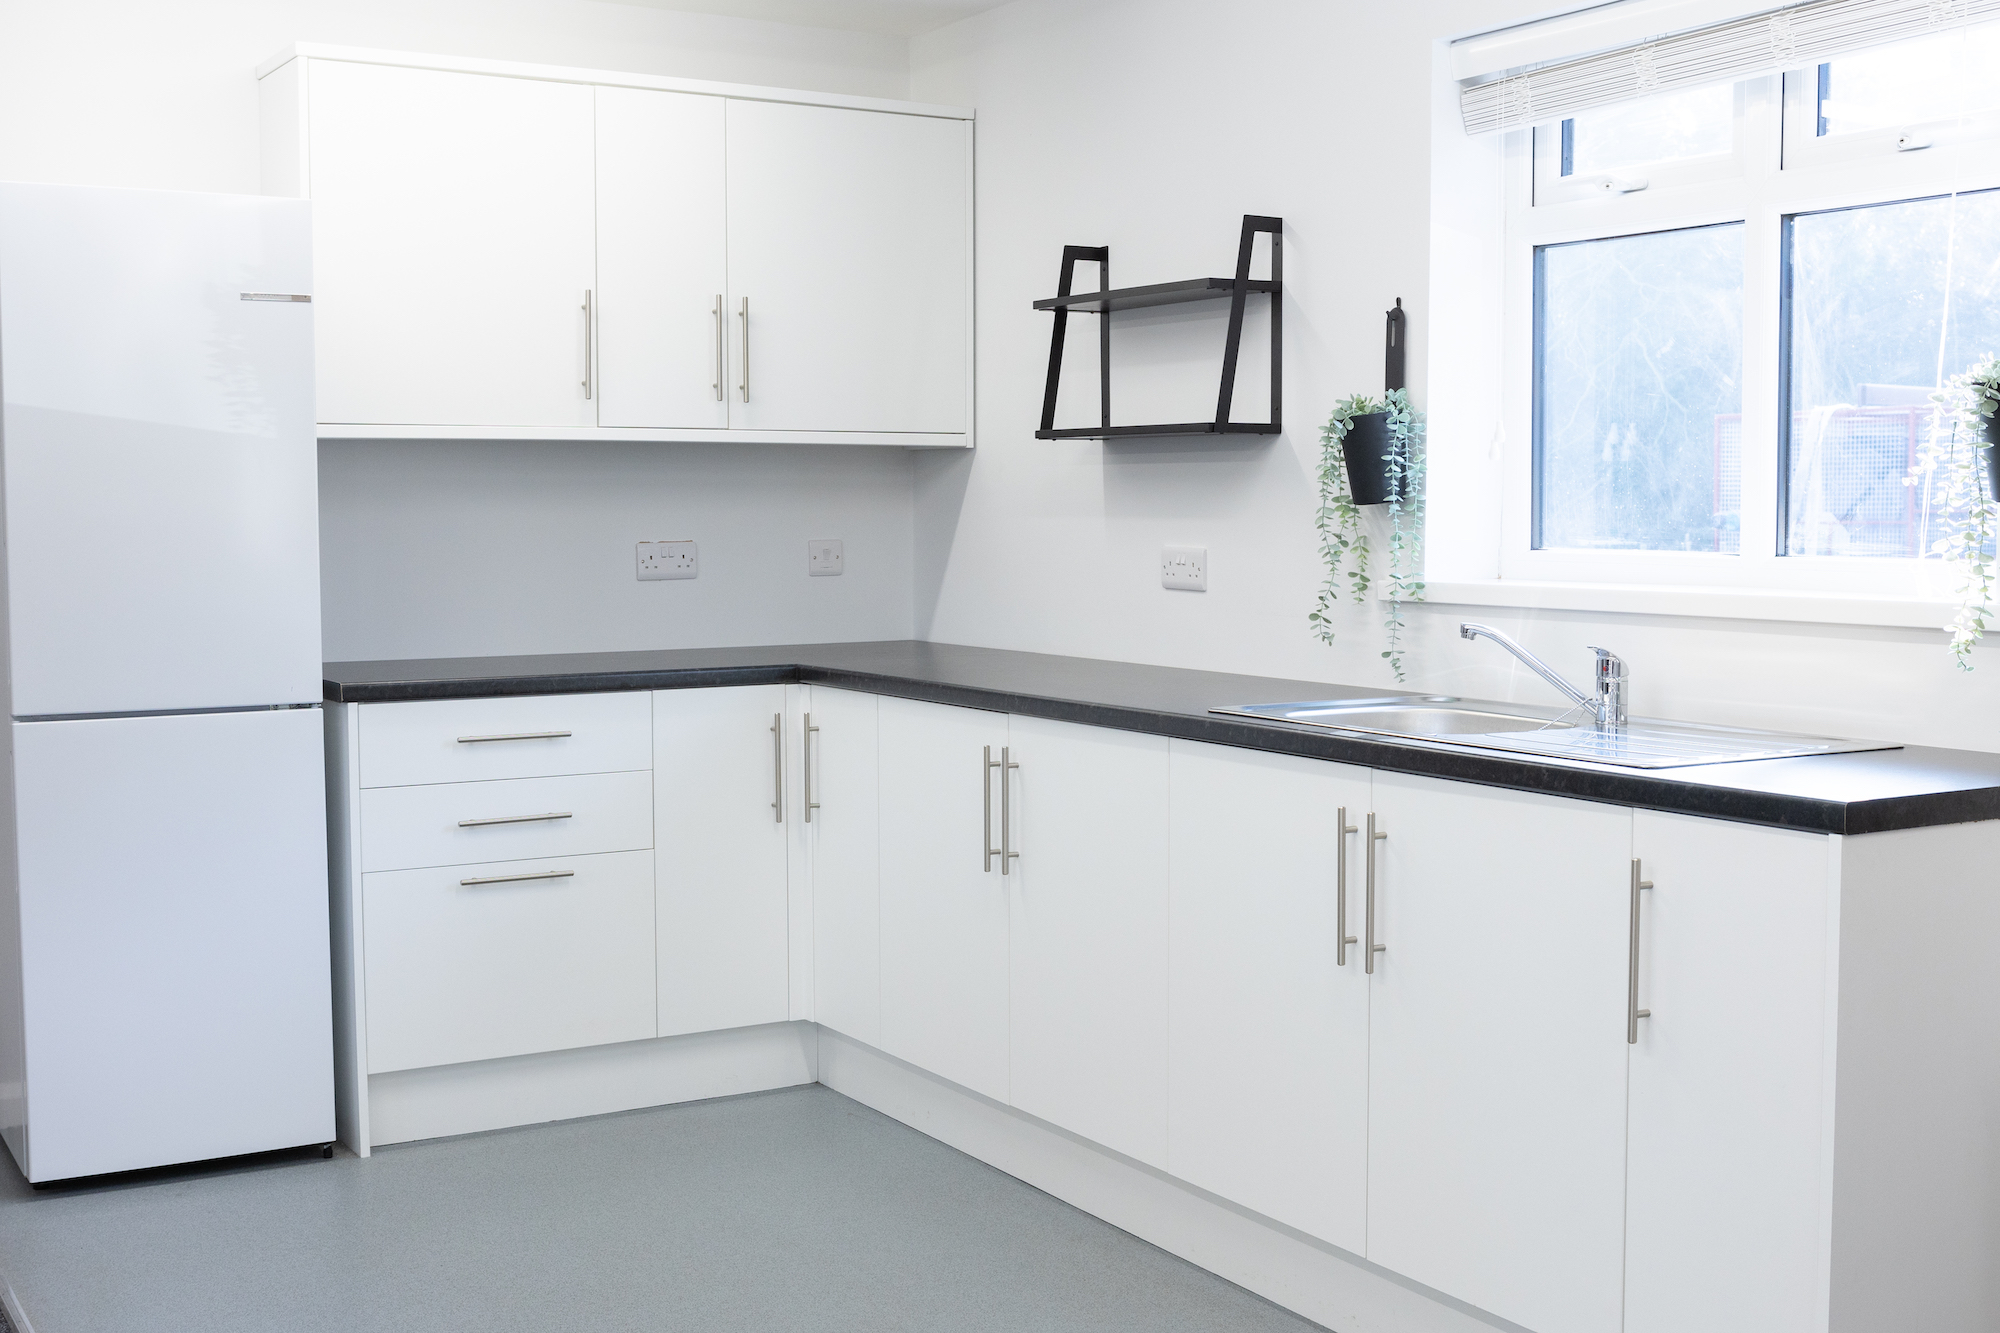
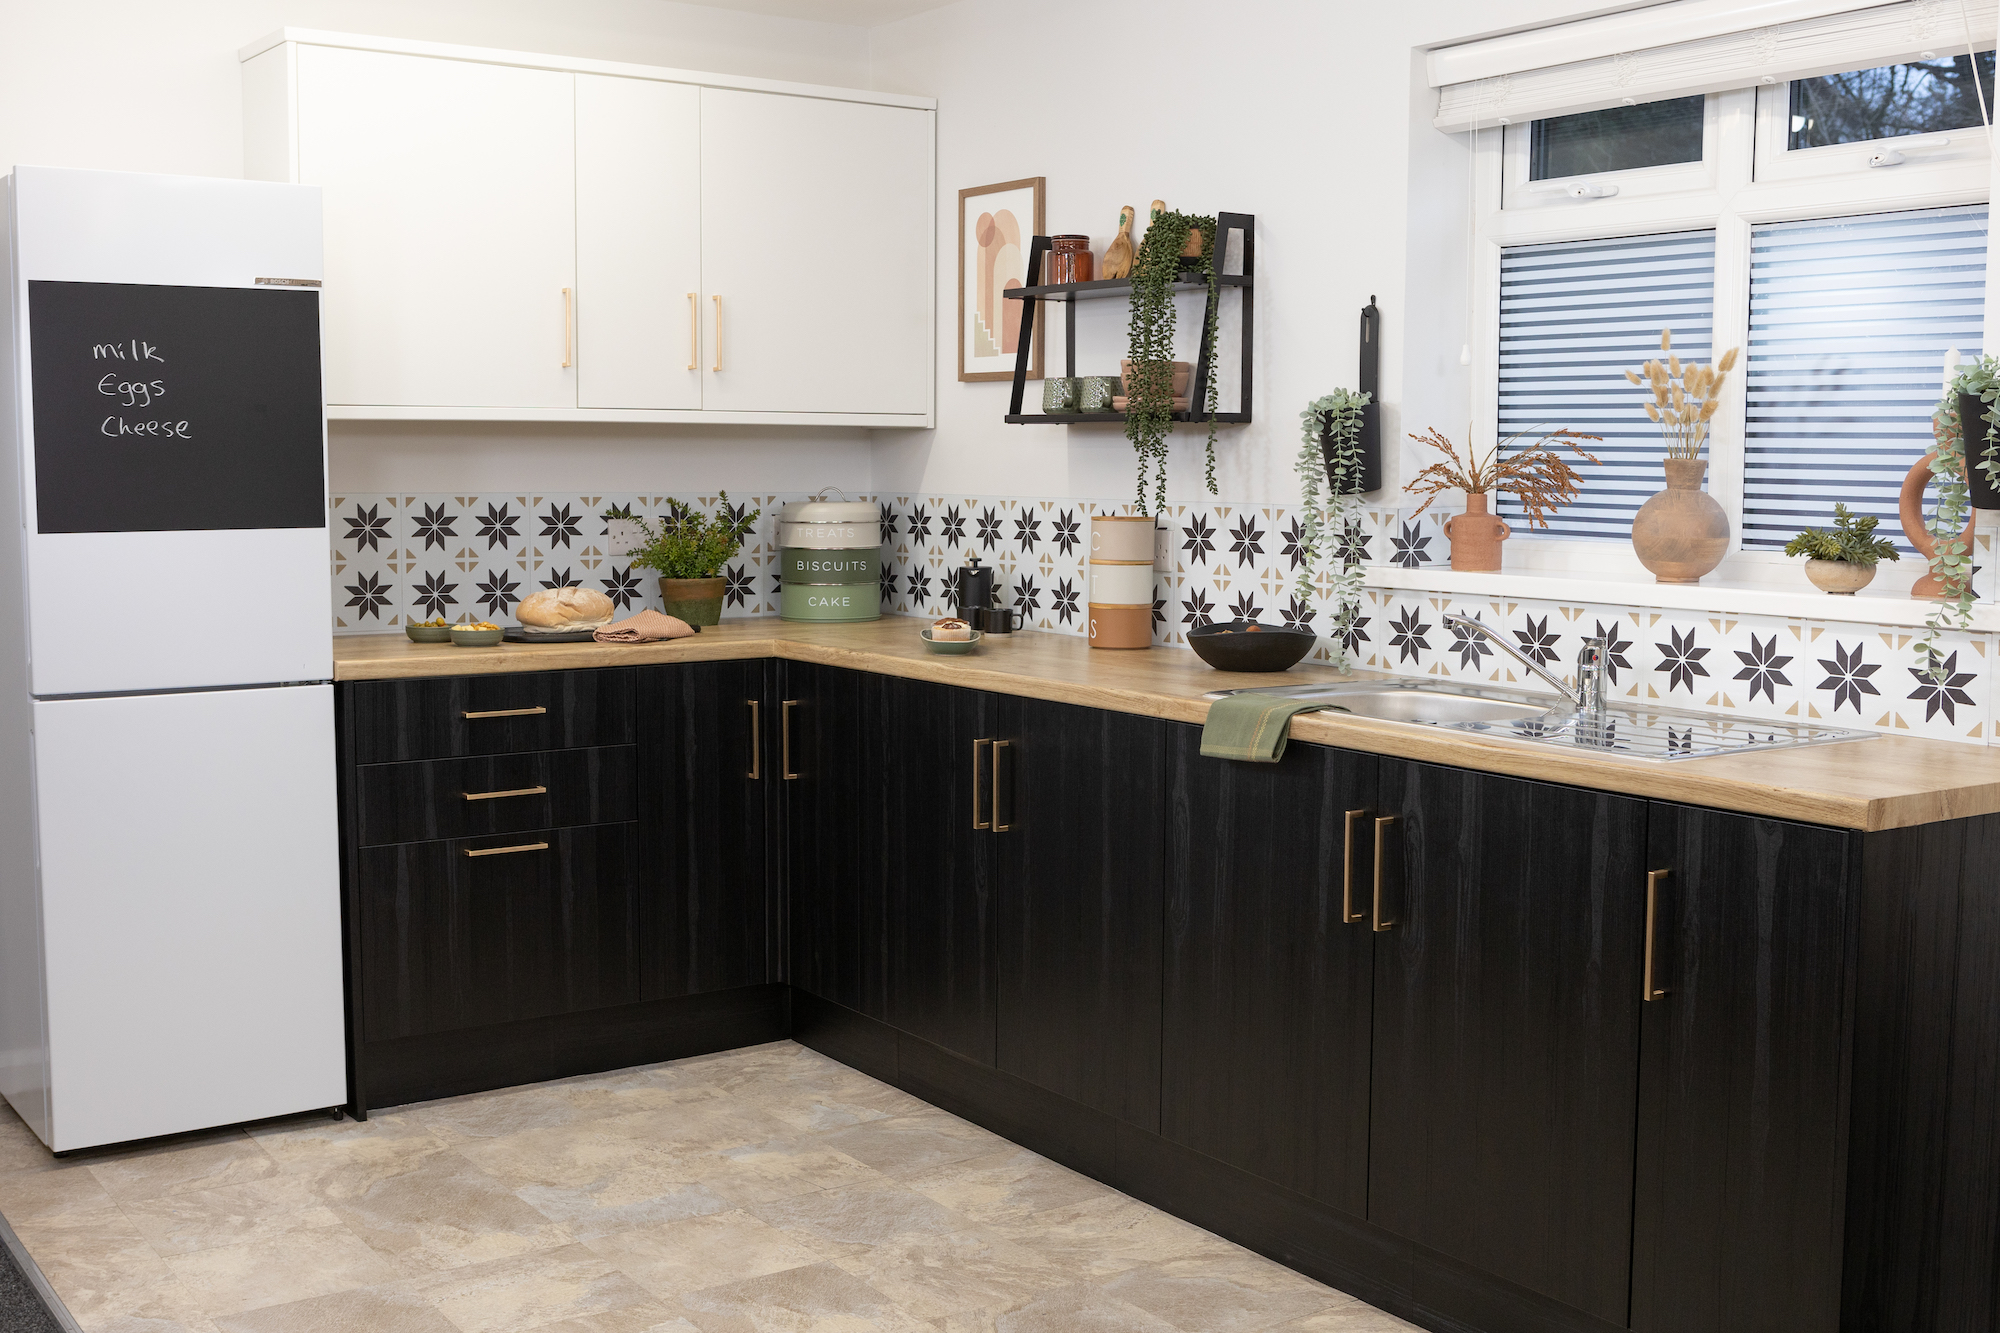
A kitchen makeover can completely transform the heart of your home into a clean, fresh and inviting space that you can feel proud of, without the cost of a full renovation.
Vinyl wrapping your kitchen doors and worktops will help you achieve your dream kitchen on-a-budget and it’s easy to do yourself, as long as you follow the golden rules. This blog guides you through a step-by-step process, offering tips and tricks for a successful kitchen makeover that combines function with style.
Step 1: Plan your makeover
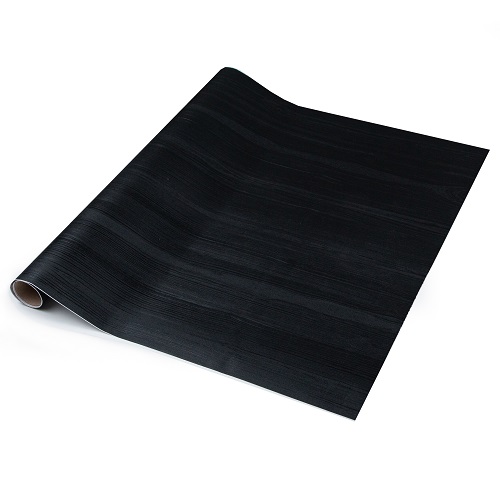
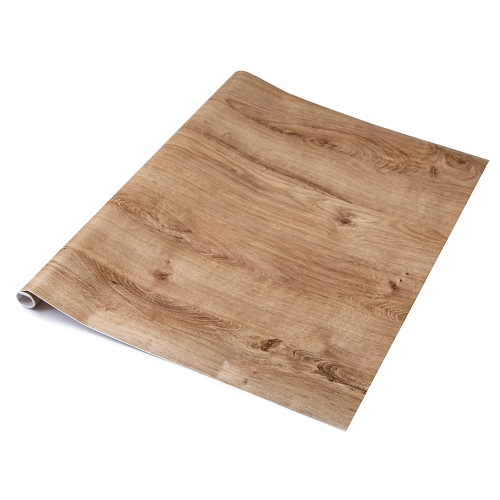
Before you begin, it’s essential to plan your kitchen makeover carefully. Consider the colour scheme and style you’re aiming for. Measure the doors worktops and splash back to determine how much material you’ll need. As a general guide, 67.5cm rolls are perfect for worktops and doors. For wider areas you may need the 90cm wide rolls.
Step 2: Prepare all surfaces
Preparation is key to ensuring that the film and wall tiles adhere properly and look great for years to come. Start by cleaning all surfaces thoroughly with a mild detergent to remove any grease & dirt. Allow the surfaces to dry completely. Remove doors, drawers and handles.
Step 3: Wrap doors and drawers
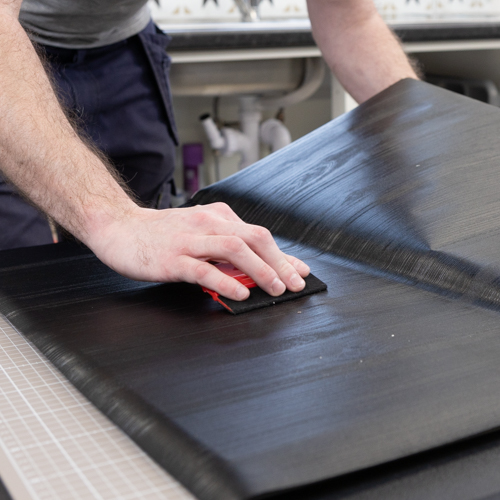
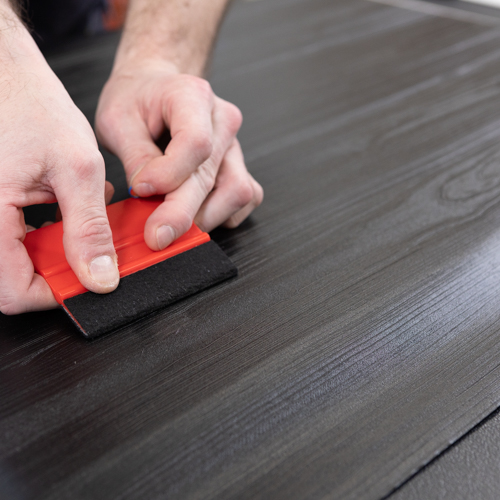
Cut the vinyl to size allowing enough excess material to wrap around the edges. Peel away the backing paper little by little and smooth out to the edges. A d-c-fix® application kit with scalpel blade and smoother is recommended for a flawless finish.
Tips!
- Prick any air bubbles with a pin and smooth out.
- Neat corners can be achieved by making a 45 degree cut in towards the corner of the door or drawer, folding around one flap, then the other and trimming away the excess (watch the video to see more detail).
- Shaker style doors can be covered in sections – centre panel and 4 sides – ensure you overlap the film by a couple of mm to allow for shrinkage
- Glossy surfaces such as fridges and cupboards can be sprayed with water to help the film glide into position and minimise creases and bubbles. The water will dry out after 48 hours.
Step 4: Wrap the worktop
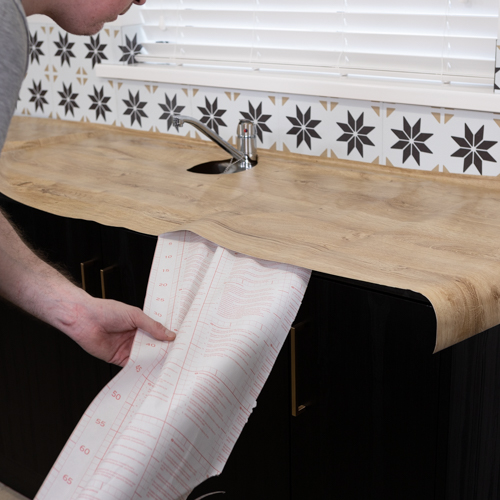
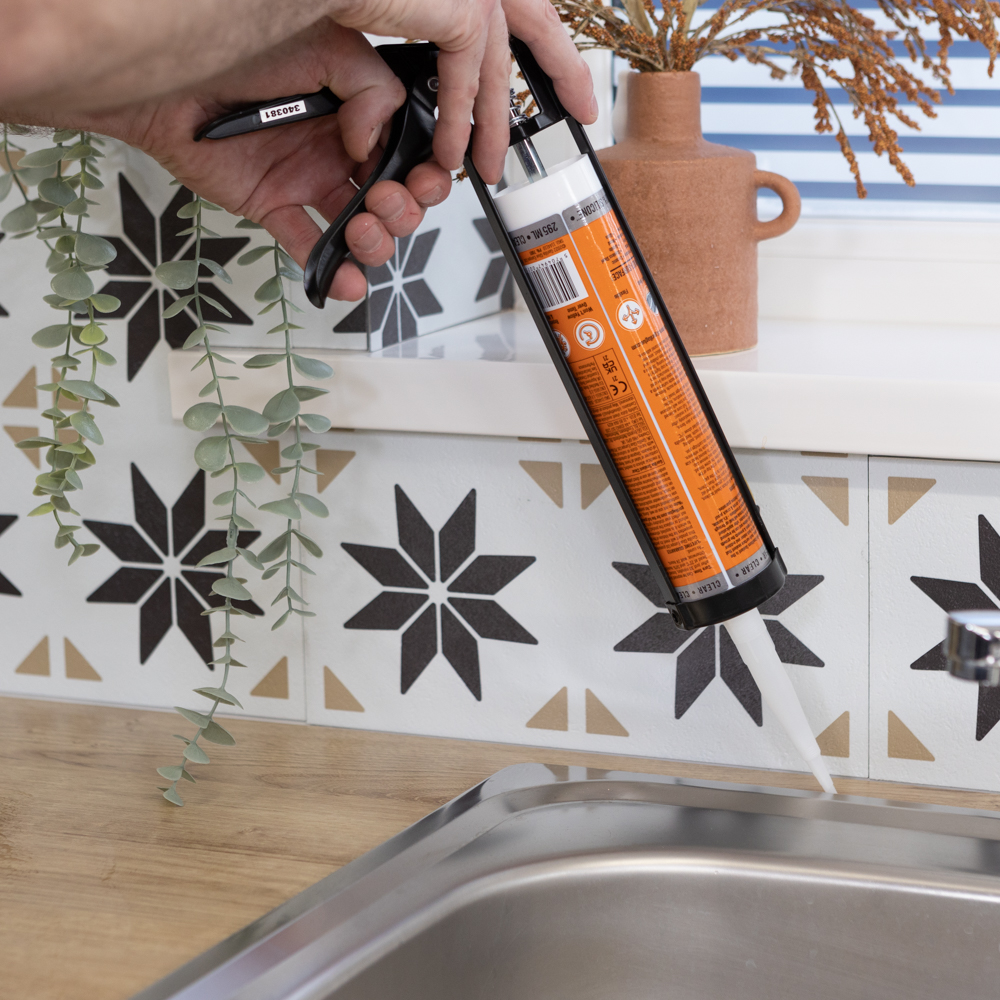
The biggest challenge when wrapping the worktop is going around sinks and hobs but once you know how, it’s quite simple. Measure and cut to size as above allowing enough material to wrap around the edges. If removing the sink isn’t an option, cut a hole to feed the tap through, make a X-shape cut over the sink and draining areas then peel the backing paper and push the film into the edges. Trim away the excess then seal using silicone. The same principle applies to the hob – cut a X-shape over the hob area, remove the backing paper, push the film into the edges and seal.
Tips!
- When covering adjacent sides, if your vinyl has a woodgrain effect, ensure the grain is running along the length of the worktop
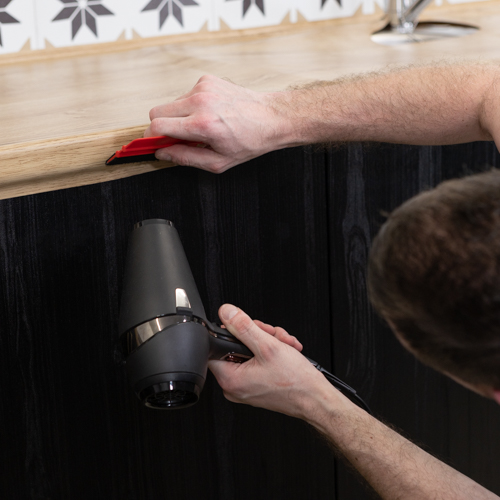
- A hairdryer can come in handy when applying the film around curved edges
Step 5: Installing self-adhesive wall tiles
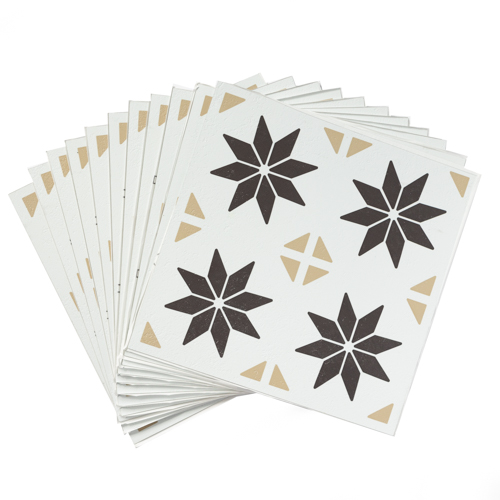
These tiles often come in a range of designs that mimic real tiles, giving your kitchen a high end look at a fraction of the cost of re-tiling. They can be applied over the top of flat tiles and the clear membrane which runs behind the joins make them waterproof. To apply, simply ensure the surface is clean and dry, peel away the white backing paper (leaving the clear membrane in situ) and press firmly into position. To cut the tiles to size, score and snap.
Maintenance Tips
To keep your kitchen looking its best, always use mats and boards for hot pans and food prep. The vinyl film is heat resistant to 70°C and can be cleaned with a mild detergent and soft cloth. Avoid scrubbing and abrasive cleaners which can damage the surface.
Shop for the products used in this project…

